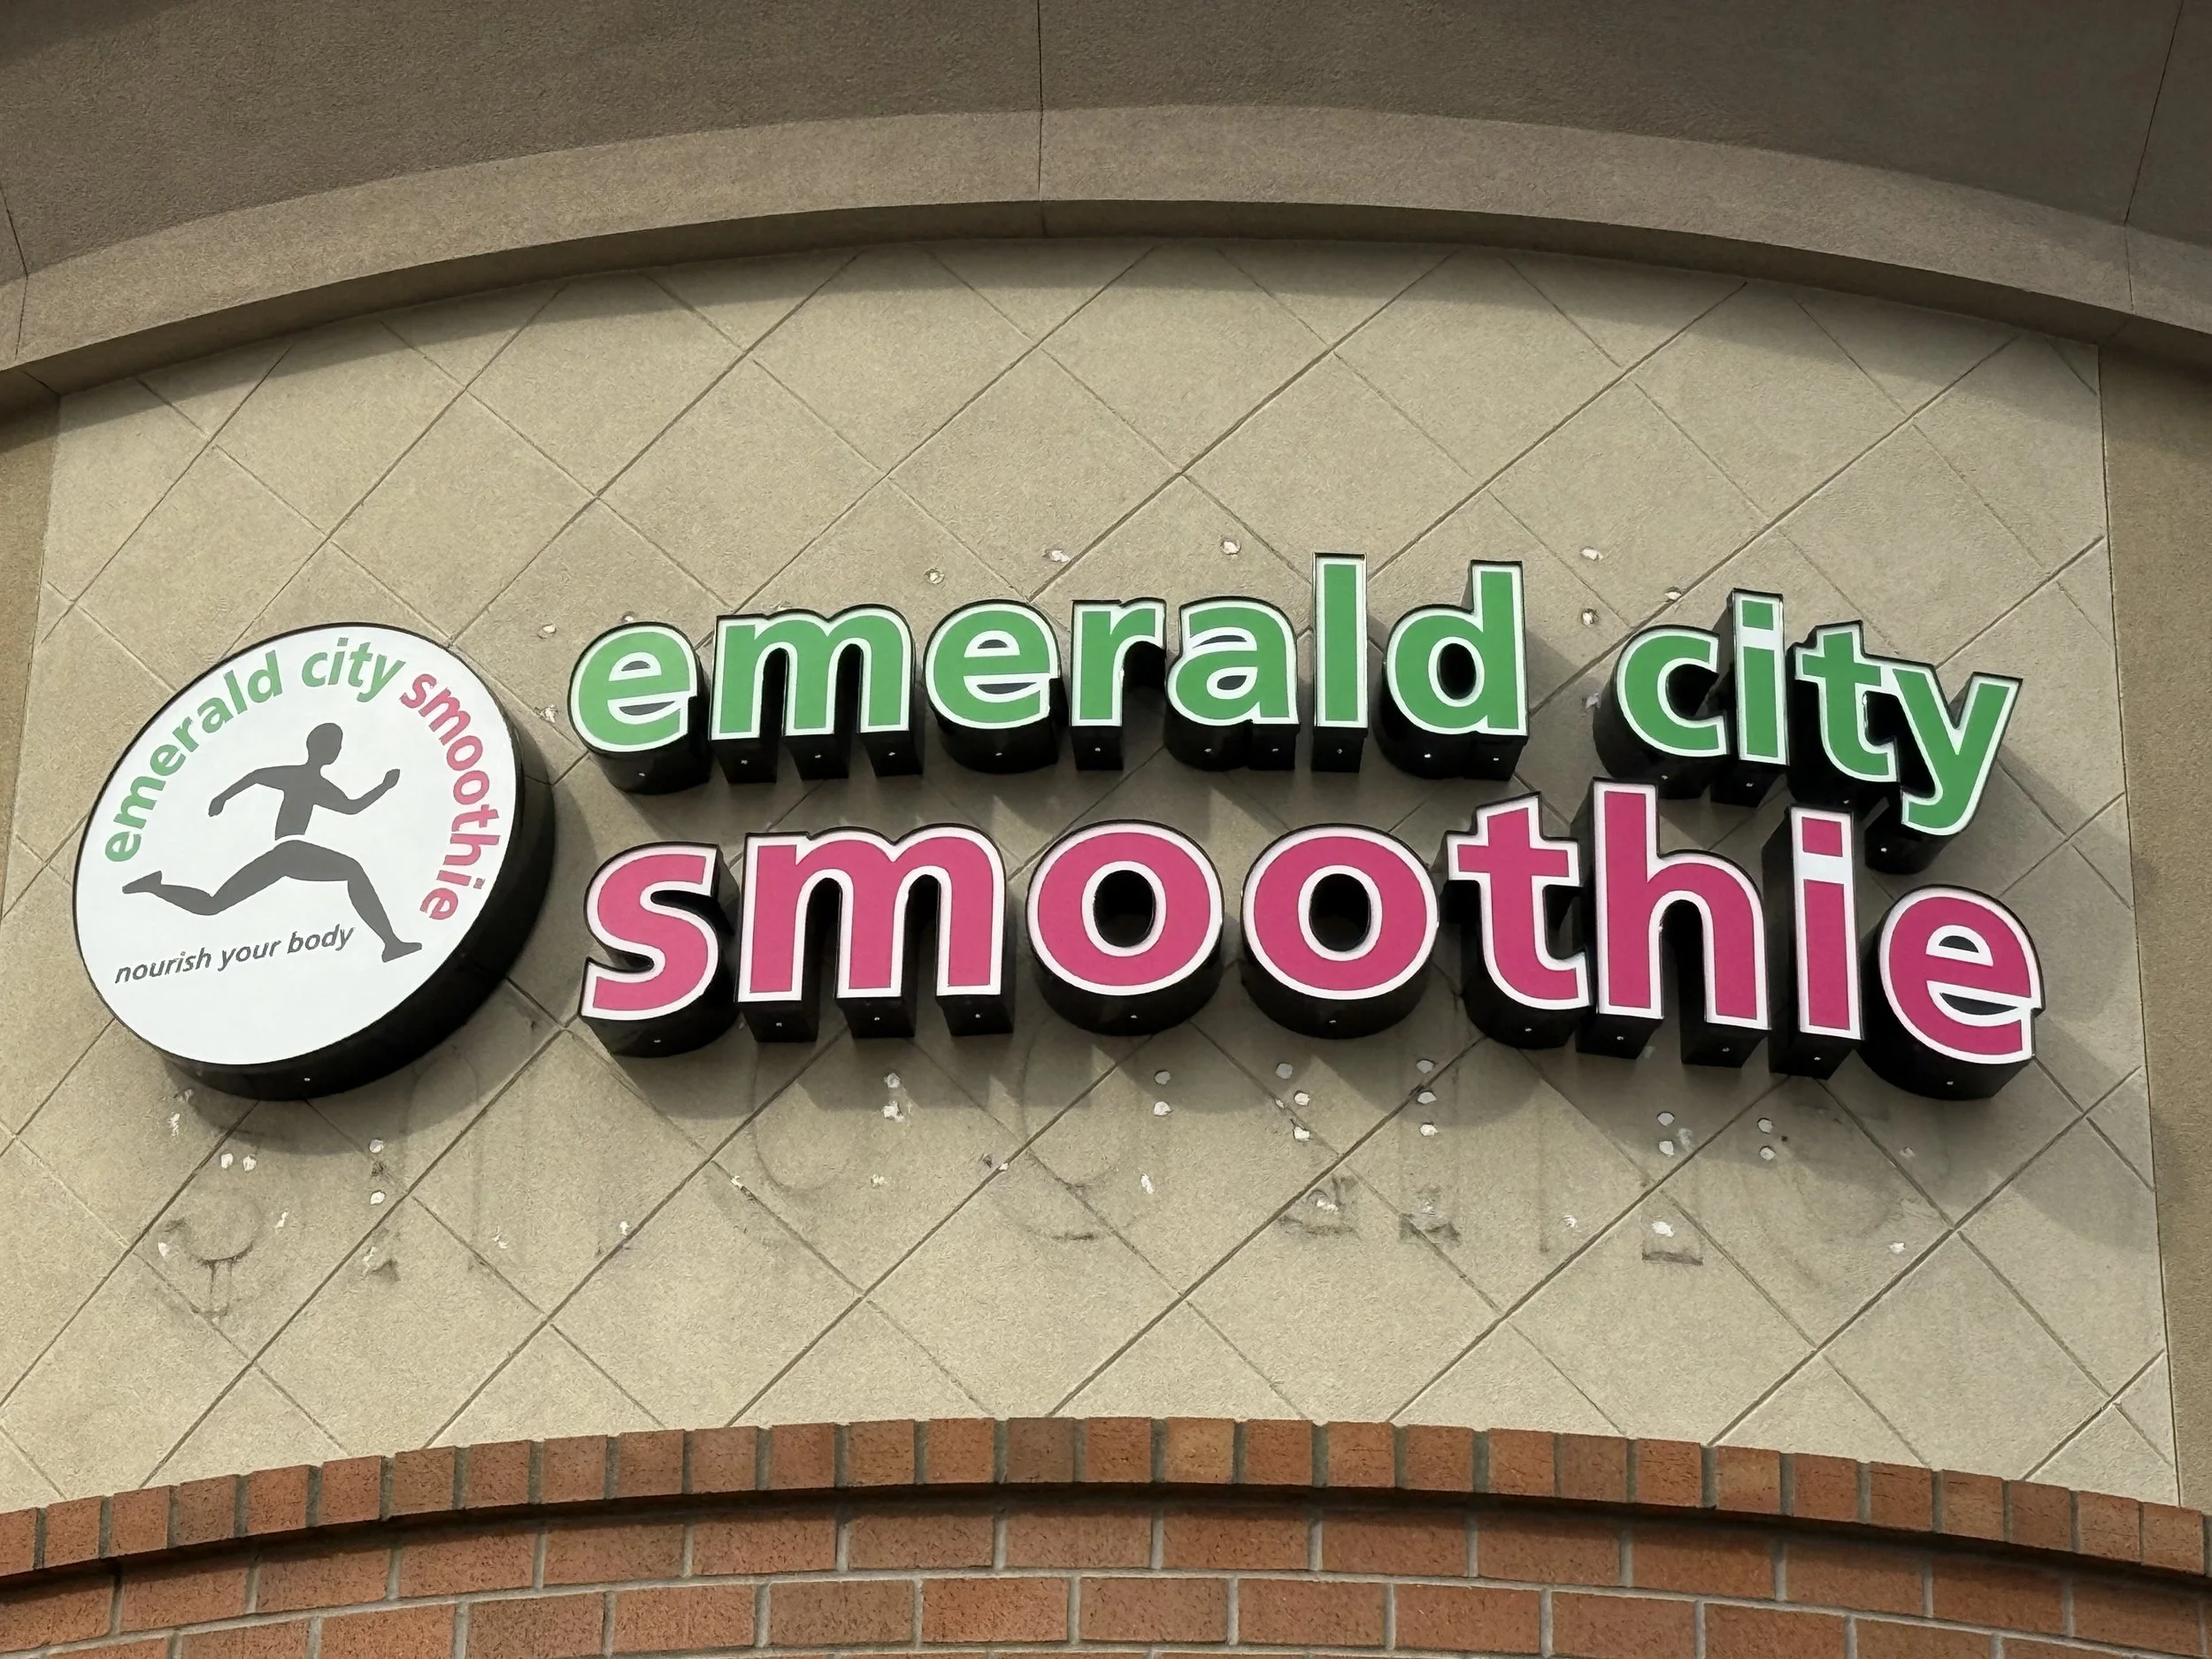
How to Prep Your Wall for a New Sign | Plumb Signs
Don’t Let Old Stains Ruin Your New Sign: Wall Prep Tips from the Experts
Published by Plumb Signs · Category: Sign Installation & Maintenance

As a business owner, you’ve likely invested in a stunning new sign from Plumb Signs to boost your brand’s visibility and attract customers. But here’s a common pitfall we see too often: unsightly stains, ghosting marks, or holes left behind from previous signage. They can make even the most beautiful new installation look sloppy and unprofessional.
Here’s a quick guide on removing old sign stains from your business walls before installing new signage — covering the why, the how, the costs, and who’s responsible — so you can plan ahead and avoid surprises.
Why Wall Preparation Matters: First Impressions Count
Your storefront sign is often the first thing customers notice—your silent salesperson working 24/7. But if the wall beneath shows faded outlines, water stains, or mounting holes from the old sign, it screams “neglect.” This not only detracts from your new sign’s impact but can harm your brand’s reputation.
Studies show unkempt exteriors can reduce foot traffic by up to 20%, as passersby subconsciously associate poor maintenance with subpar service. Proper prep also ensures longevity: stains can trap moisture and cause peeling paint or corrosion. In the Pacific Northwest’s damp climate, this can shorten a sign’s lifespan and void warranties.
The Step-by-Step Process: From Removal to Ready
Removing old sign stains isn’t a quick weekend DIY—it’s a detailed process best handled by professionals. Here’s how it typically unfolds:
- Sign Removal: Safely disconnect wiring, detach mounts, and lower the sign with proper equipment.
- Surface Assessment & Cleaning: Remove adhesives and discoloration using mild cleaners like isopropyl alcohol (2:1 water ratio) or Goo Gone.
- Repair & Patching: Fill holes with exterior-grade filler and sand smooth.
- Painting & Priming: Apply two coats of matching exterior paint to seal and blend the wall.
- Final Inspection: Ensure the surface is level, clean, and moisture-free before installing the new sign.
Timeline: Typically 1–3 days. Schedule wall prep 1–2 weeks before your new installation.

Costs: Budgeting for a Flawless Finish
Typical costs for storefront wall prep range from $300–$800, depending on condition and accessibility.
| Scope | Typical Range | Details |
|---|---|---|
| Basic Cleaning | $200–$400 | Light ghosting and grime removal |
| Patching & Repairs | $100–$300 | Fill holes, sand, minor patching |
| Full Painting | $200–$500 | Two coats, color match |
| Full Package | $500–$1,200 | Removal, prep & disposal included |
At Plumb Signs, we can coordinate wall prep and installation for a streamlined, cost-effective process. Learn more about our installation capabilities or explore our sign service and repair solutions.
Whose Responsibility Is It?
- Business Owner/Tenant: Usually responsible for prepping the wall before installation.
- Landlord/Property Manager: May handle repainting or structural repairs per lease terms.
- Plumb Signs: Handles fabrication and install; can include prep as an add-on service.
- Contractors: Painters or janitorial crews manage actual cleaning or painting.
Pro tip: Discuss wall prep early with your landlord and your Plumb Signs project manager to avoid surprises.
Ready to Elevate Your Business?
Stains from old signs don’t have to haunt your new look. By starting with a clean, well-prepped wall, you’re investing in a professional image that attracts customers and protects your investment.
Start Your Project
